As discussed in much more detail here, Raspberry Pi recently made a High Quality camera available. This new Raspberry Pi camera not only provides a better sensor, but the ability to use CS-mount CCD-style lenses, as well as C lenses with an included adapter.
This type of lens mount made its debut nearly 100 years ago — it’s a tried-and-true design that's still very much in use. Raspberry Pi officially sanctions a 6mm (CS) and 16mm (C) lens, both of which appear to be good options in their own right. However, what about using a DSLR lens instead?
Raspberry Pi DSLR Camera Control
The short answer is yes—I was able to test it out with a 50mm EF lens that fit my ~10 year old Canon T2i. I also took a few shots with my 18-55mm kit zoom lens, and was able to get promising results out of both.
What you’ll need for DSLR lens adaptation:
· C-Mount adapter: search for something like "Canon EF Lens to C-Mount"
· Included C- to CS-mount adapter
· Extra C-to-CS adapters for macro shooting (optional)
With those parts in-hand, screw in the C to CS mount adapter; then do the same with the C-Mount to EF lens adapter. You can then insert the lens into the EF adapter as you would with a Canon frame; twist and it will lock into place. Note that when you need to remove it, you’ll likely have to push a pin back to release the locking mechanism.
From here, you can take pictures through the command line as you normally would. Zoom and focus can be adjusted manually as if they were on the camera. Directly setting the aperture, however, is sadly lacking.
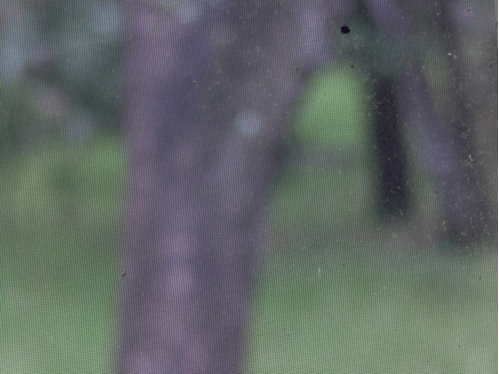
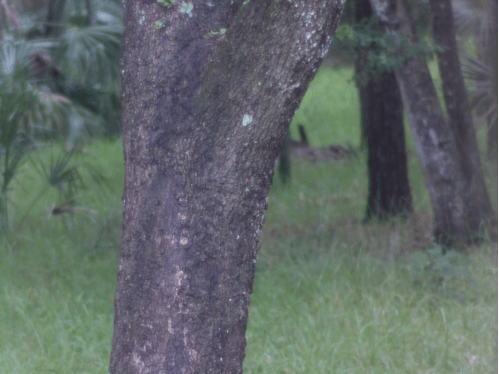
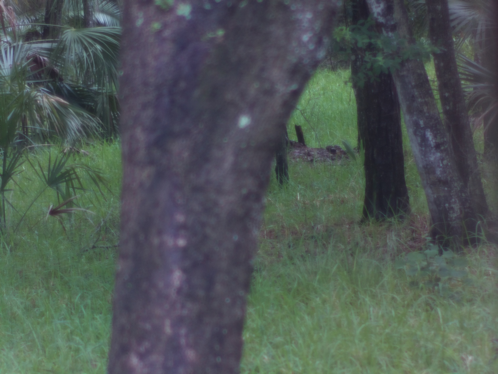
Focus adjustment out of a screened in window with the 50mm Canon lens adapted to the Pi HQ camera
Aperture Adjustment Trick
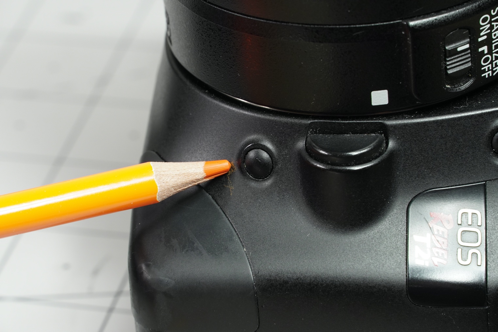
You can, of course, just leave the aperture open at all times, but if you want to dial it down a little, there is actually a way to do that. Insert your lens into a Canon body, then adjust the aperture to the setting you want. Press the button in the image below (T2i shown here; your camera may be different), and keep it held down while you press the release and twist your lens free. It’s a bit hacky, but this gives you at least one option when you need to restrict light input to the sensor.
The other option is to leave the aperture open on the lens, and purchase an adapter with its own manual aperture mechanism. You can then adjust light levels on the fly without needing to go through a complicated procedure with the camera body. The downside is that these adapters are much more expensive (around $60) than those without any adjustable mechanical parts (though in the world of photography equipment, that doesn’t seem too bad).
Raspberry Pi Camera: Macro Shooting
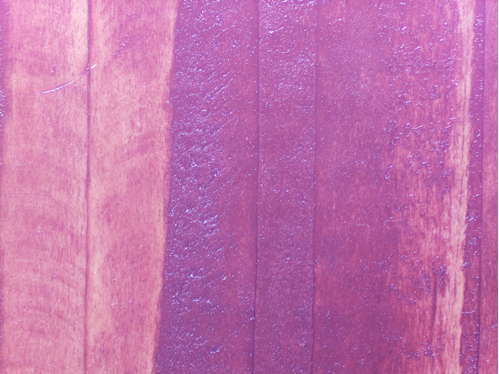
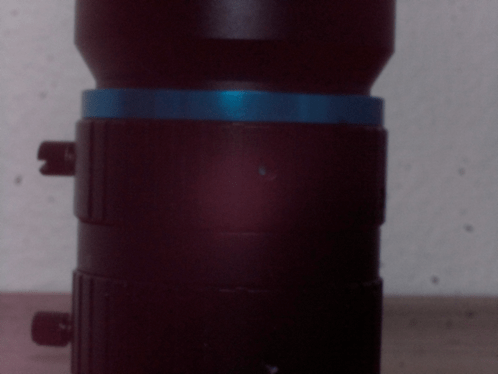
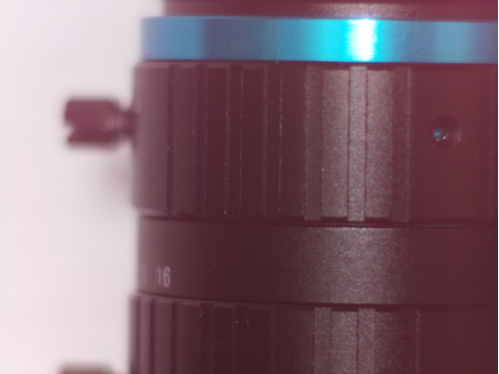
Experiments with extra spacing for DSLR lens macro shots
I was able to get very good results shooting macro with the official Pi 16mm lens, adjusting the back focus with the dial. For the Canon lenses tested, I tried adding extra spacers to increase the distance between the lens and the sensor. While I could get it to focus at close distances, I wasn’t thrilled with the results. You may be able to get better photos than what is shown here, but unless there’s something very specific you want to do, I’d stick with the official Pi hardware for macro shooting.
Raspberry Pi Camera Lens: Other Options
I had good success with my Canon lens but have yet to try any other brands. A quick search for Sony appears a bit more limited, though Nikon seems to be similar to Canon, availability-wise. I’d assume lesser-known cameras would mean more limited offerings, but I also suspect you can find a way to adapt your lens if you poke around enough. If not off-the-shelf, perhaps you can find a 3D-printable version that’s already been designed.
Whether you stick with the original Pi lenses or try something more exotic, the new HQ camera is a huge leap forward for those who want to take their Pi photography to the next level!


