It's only been a few decades since “traditional” TV/VCR/stereo control via infrared (IR) light came onto the scene in the 1980s. While not the most advanced remote-control method now available, it’s inexpensive, and it usually works. Its simplicity means that Arduino IR remote control projects can be implemented for around a dollar for the receiver, plus any spare remote that you have lying around unused.
IR Remote Arduino Library: Accessing Remote Code


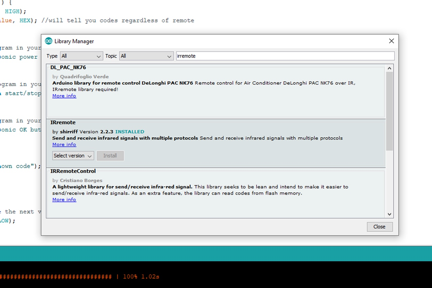
To use an IR receiver with your Arduino board or other microcontrollers like the ATtiny85 or ATtiny84, first install the IRremote library by Ken Shirriff. This can be found by searching for irremotelibrary through the Arduino library manager, or it’s available on GitHub here. When installed, you’ll have access to several new examples under File-Examples-IRremote.
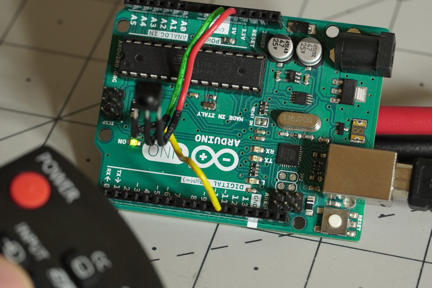
For this control experiment, you can use an Arduino Uno, along with a Vishay TSOP4838 IR Remote Receiver. This particular receiver is designed to work with signals in the 38kHz range, and filters out most naturally occurring light, while demodulating signals from standard consumer remote control units. The TSOP4838’s supply pin is connected to Arduino 5V, ground to ground, and its output pin to Arduino pin 11.
See related product
See related product
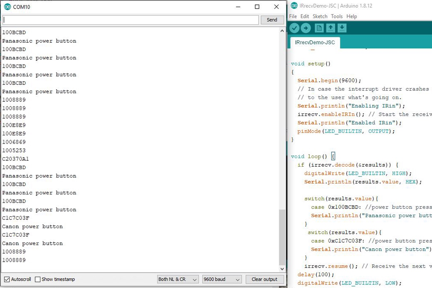
Open up the IRrecvDemo example and upload it to your board. With the Arduino still connected, open the serial monitor via Tools-Serial Monitor or Ctrl+Shift+M, and you’ll see a couple initial messages about the enabled IR input. Grab a remote—pretty much any remote—point it at the TSOP4838 and press a button. You’ll see the IR code pop up on the terminal in hexadecimal, indicating that it’s reading properly.
Arduino IR LED Control
To make this a little more fun, you can even add feedback from the built-in LED. You can probably figure out how to do that, but this lightly modified version of Shirriff's code produces LED feedback on the built-in LED with the push of any button. It’s not what you’d want in most situations, but it does prove that things are working.
Setting Arduino IR Remotes to Respond to Individual Codes

Of course, the real power of this type of remote is that it can change the channel, volume, robot position or anything else. The next step is to identify the button you want to use and have your Arduino respond when it sees this input. The earlier example identifies your particular remote codes, and this expanded version adds switch case statements to trigger different actions.
This code presents three code input options, as well as a default “Unknown code” scenario that’s activated when it doesn’t recognize what has been sent. These options can be copied, deleted and modified as needed, and you’ll probably want to set the output to something more interesting than giving you feedback about the button that was pressed. Substitute in your own remote codes to activate each option. Note that this setup can work with different types of remotes, even using different brands or styles in the same program.
Once you’ve mastered controlling an Arduino via an external infrared controller, you can also use the Arduino itself to generate these signals. This could allow it to control another custom receiver setup, or even act as a universal Arduino IR remote control.


